How to Create a VPC
Validated on 28 Apr 2020 • Last edited on 12 Jan 2026
A Virtual Private Cloud (VPC) is a private network interface for collections of DigitalOcean resources. VPC networks are inaccessible from the public internet and other VPC networks, and traffic on them doesn’t count against bandwidth usage. You can link VPC networks to each other using VPC peering connections.
Create a VPC Network Using the CLI
The VPC creation command requires you to provide a datacenter region for the --region flag. Use doctl compute region list command to retrieve a list of available datacenter regions.
Create a VPC Network Using the API
The VPC creation call requires you to provide a datacenter region for the region field. Use the /v2/regions endpoint to retrieve a list of available datacenter regions.
Create a VPC Network Using the Control Panel
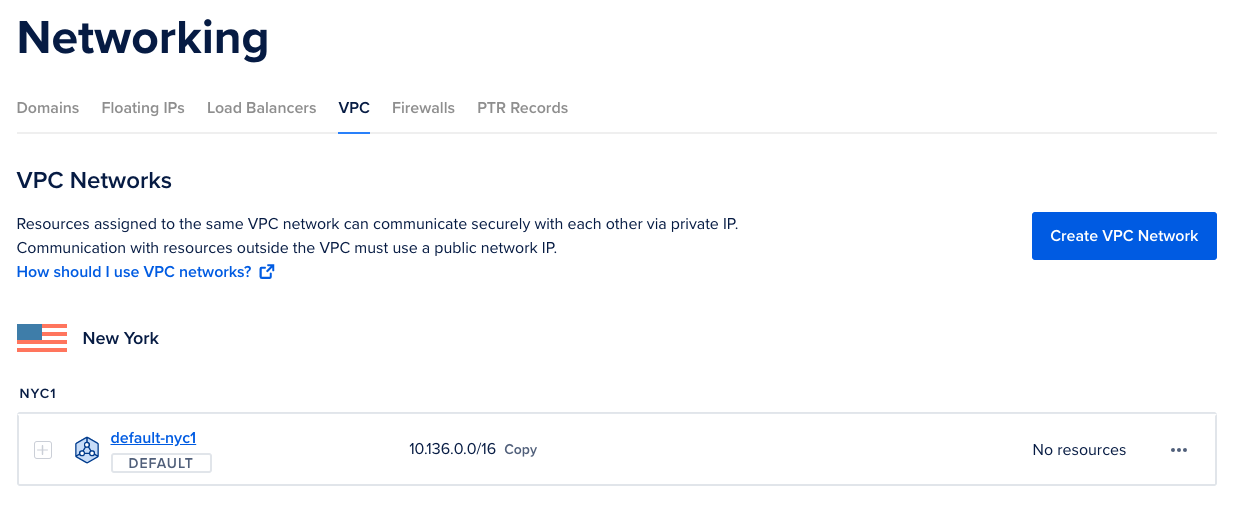
To create a VPC network, click Networking in the main menu, then click the VPC tab. In the VPC tab, click Create VPC Network.
On the Create VPC Network page, select a datacenter region for the VPC network. Any resources you add to the VPC network need to be in the network’s datacenter region.
Under Configure Private IP Range, choose how you want your IP range to be generated. We strongly recommended Generate an IP range for me to save time calculating IP ranges and prevent your network ranges from overlapping.
If you select Configure my own IP range, see Planning Your Network Size for more information about how to plan the size and range of your VPC network. The IP range of your VPC network can’t overlap with the ranges other networks in your account. The control panel prevents you from creating networks with overlapping ranges.
In the Choose a name and description section, name the VPC network and optionally add a description of it, then click Create VPC network.
Once the VPC network is created, you can create new resources in the network. VPC networks currently support Droplets, managed databases, load balancers, and Kubernetes clusters.
You can also migrate existing managed databases and Droplets to a VPC network, but currently cannot migrate Kubernetes clusters and load balancers.